
Epoxy Floor Application Guide
By Morgan Chemicals · Updated July 17, 2026
A step-by-step guide on how to apply epoxy floor paints including surface preparation, priming, and coating application.
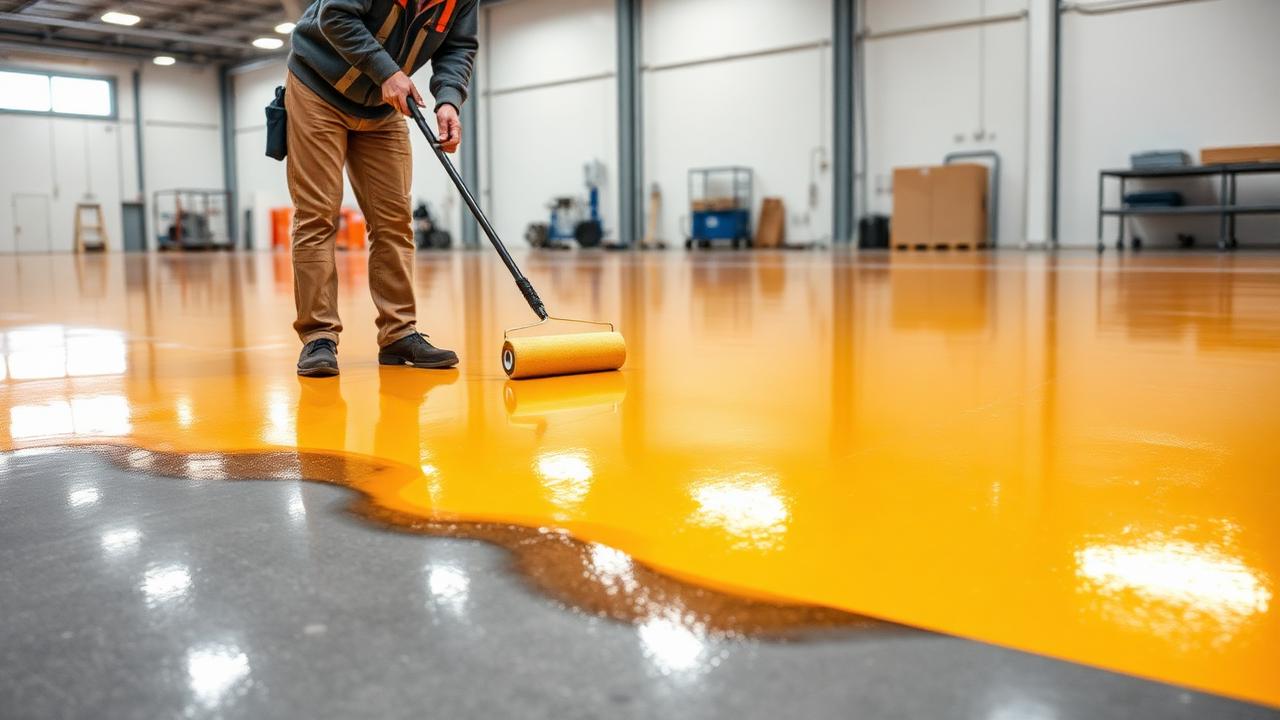
Epoxy Floor Application
This guide is a summary of the steps required on how to apply epoxy floor paints. This guide applies to a simple roller applied two-coat floor suitable for light and medium wear and tear, perfect for garages and storage rooms.
Preparing the Surface
Step 1. Prepare the surface. Preparation of the substrate is necessary in order to ensure adhesion between the epoxy product and the substrate. Suitable methods are sanding or diamond-grinding.
Step 2. Sweeping and cleaning of the floor. Use an industrial vacuum that picks up even small dust particles. The floor must be cleaned of all dusts and residues before starting to prime.
Priming and Filling
Step 3. Prime the floor with a suitable epoxy primer. Always prime the floor. Priming will give your floor a longer life and better adhesion to the substrate.
Step 4. Fill all cracks, holes etc with epoxy grout.
Applying the Epoxy Floor Coating
Step 5. Application of the first coat of epoxy paint. Use an electrical mixer and mix at least for two minutes.
Step 6. Apply the product with a roller. Use a good quality roller. You should be able to re-coat after 24 hours.
Step 7. Apply the final coat. Before placing the final coat make sure all holes and cracks have been filled, and that all dust has been collected.